
Last updated October 16, 2026
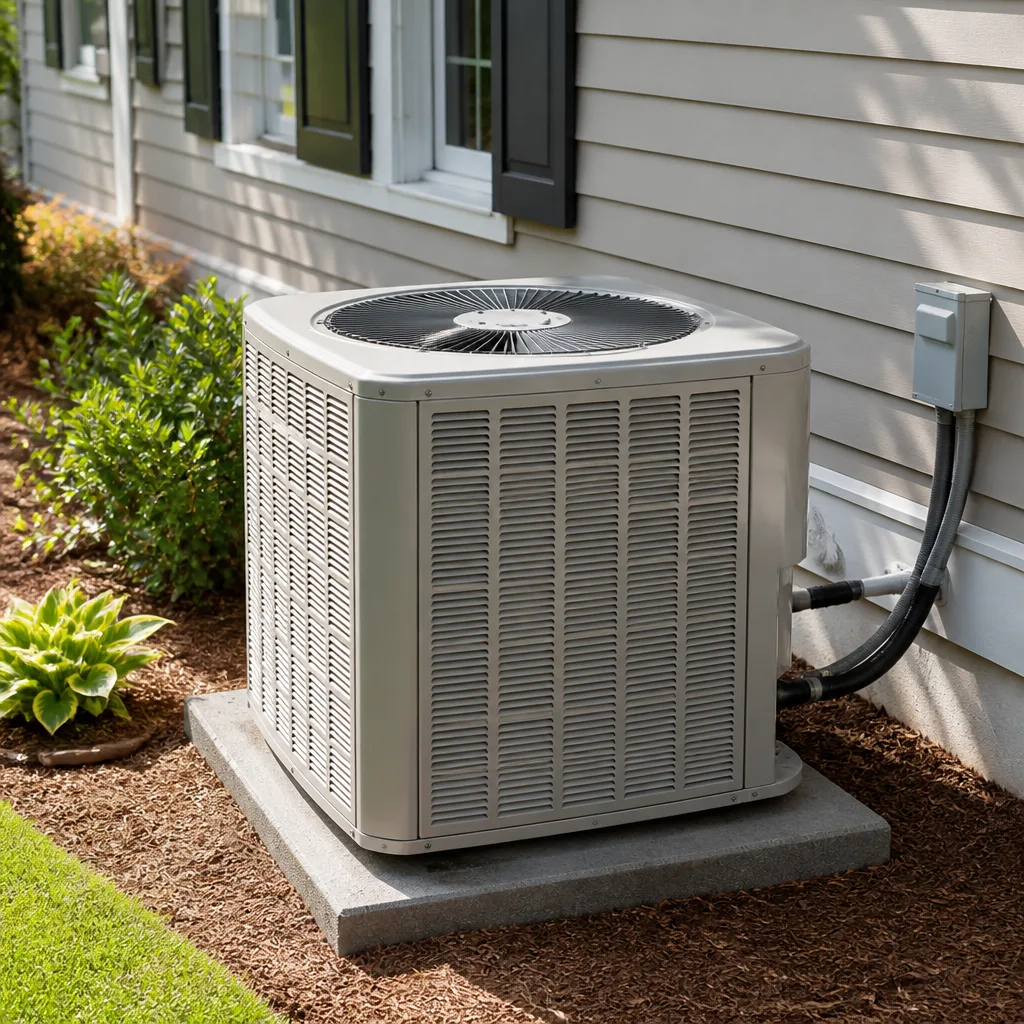 AC repair
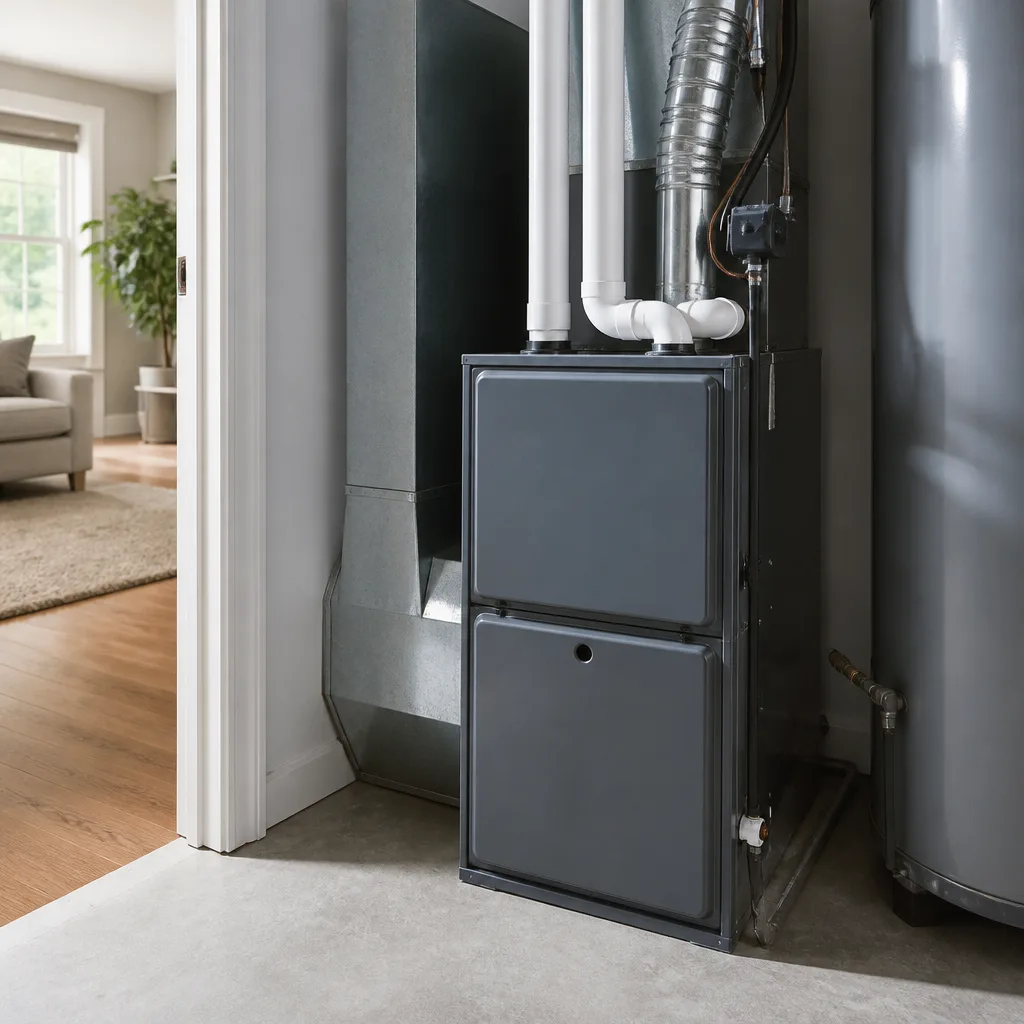 Furnace & heating
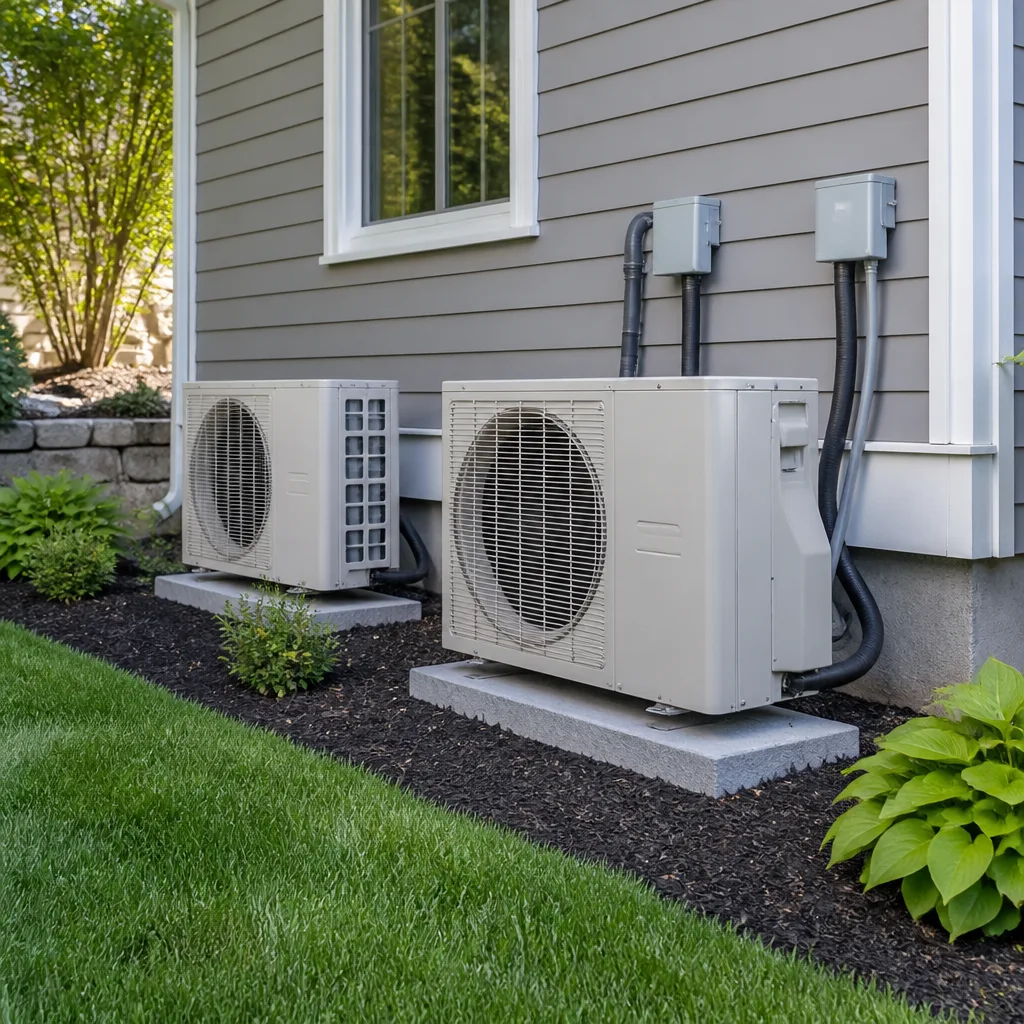 Heat pumps
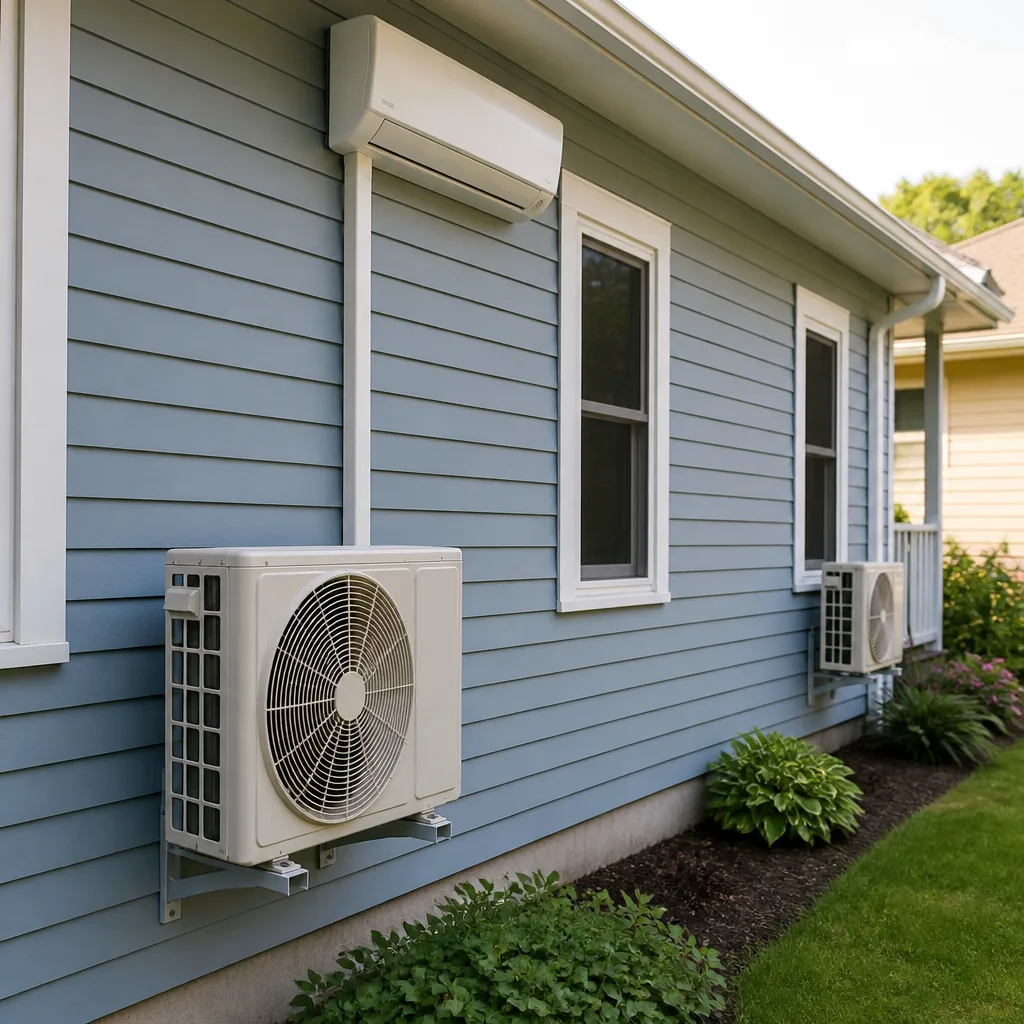 Ductless mini splits
 Carrier
 Goodman
Seasonal tune-up and full diagnostic on your Carrier, Trane, or Goodman system - readings shown to you before any repair is proposed
Diagnosis first, numbers second - you approve the repair price before a single part goes in.
Get your free estimateAC Repair Maintenance Checklist for Torrance Homeowners
Torrance homeowners run their AC an average of 60 fewer days per year than Inland Empire residents, which sounds like good news until you learn that condensate lines clog fastest in systems that sit idle for months at a stretch. The marine layer keeps cooling demand low from October through June, but that idle time is exactly when gaskets dry out, drain pans grow biofilm, and capacitors quietly lose their charge. This guide gives you a maintenance checklist built specifically for Torrance’s coastal climate, so you can catch the failures that happen during dormancy before they turn into a no-cool day in August.
Quick Answer
An AC maintenance checklist for Torrance homeowners should prioritize pre-season startup checks focused on condensate drain clearing, capacitor testing, refrigerant pressure verification, and coil inspection, with filter changes every 60 – 90 days depending on coastal air quality. The most important DIY step is clearing the condensate drain line, which prevents roughly 40% of no-cool service calls in Torrance’s humid coastal environment. Most professional tune-ups in Torrance run between $89 and $189, while skipped maintenance typically leads to AC Repair costs of $300 to $1,200.
Styles & brands we work with
Table of Contents
- Why Torrance ACs Fail Differently
- The Pre-Season Startup Checklist
- Filter Changes: The Coastal Reality Check
- Condensate Drain Clearing: The 40% Solution
- Dirty Filter vs. Refrigerant Undercharge: Same Symptoms, $300 Difference
- Coil Corrosion Inspection for Coastal Zip Codes
- Capacitor Testing: The Silent Failure Point
- What a Professional Tune-Up Actually Covers
Why Torrance ACs Fail Differently
Most national maintenance guides assume an AC runs hard all summer and needs recovery time in the fall. That’s not how Torrance works. Our cooling season is compressed into roughly 90 to 120 days, mostly July through early October, with the rest of the year spent cycling on occasionally or sitting completely dormant. That dormancy is the real enemy.
When a condensing unit sits unused for six months, several things happen that don’t occur in constantly-running systems. The oil inside the compressor settles and can leave metal surfaces unprotected during the first few startups. Seals and gaskets dry out slightly, creating refrigerant micro-leaks that grow over time. The condensate pan under the indoor evaporator coil, which stayed damp after the last cooling cycle, becomes a breeding ground for biofilm. In our experience working on Rheem and Carrier systems across Torrance, we regularly see drain clogs form faster in homes where the AC was off from November through May than in homes that ran the system periodically for dehumidification.
Then there’s the coastal factor. The 90505 and 90503 zip codes, especially neighborhoods like Hollywood Riviera, South Torrance, and Walteria, sit close enough to the ocean that salt-laden air drifts inland during onshore flow. That salt settles on exposed condenser coil fins and accelerates corrosion. A condenser coil that might last 15 years in Riverside can show pitting and fin degradation in 10 to 12 years within two miles of the coast. The maintenance implications are straightforward: Torrance homeowners need to inspect more often and take dormancy seriously as a wear factor, not a rest period.
The Pre-Season Startup Checklist
Before the first real heat wave hits, usually in July or August, here’s the startup sequence we recommend for every Torrance homeowner. These steps catch roughly 80% of the issues that turn into emergency calls by September.
- Clear or check the condensate drain line. Pour one cup of white vinegar or a commercial drain treatment into the drain line access point near the indoor unit. If the line is already clogged, you’ll see water backing up or draining slowly. More on this below.
- Replace or clean the air filter. Don’t assume the filter from last October is still fine. Six months of dust, even with no AC running, means it’s restricted. A fresh filter costs $10 to $25.
- Inspect the outdoor unit for debris. Clear leaves, grass clippings, and any trash that accumulated around the condenser. Check for weeds growing within 18 inches of the unit, which restrict airflow.
- Check the thermostat batteries or wiring. Dead thermostat batteries are one of the most common “my AC won’t turn on” causes in Torrance. Replace batteries annually, even if the display still works.
- Look for visible refrigerant line frost or ice. After running the system for 20 minutes, check the copper line set connecting the indoor and outdoor units. Frost on the larger insulated line usually means a restriction (often a dirty filter) or a refrigerant undercharge.
- Listen for unusual noises on startup. A buzzing sound followed by a click can indicate a failing capacitor. A grinding sound suggests a motor bearing problem. Both are cheaper to fix before the compressor gets damaged.
- Verify the condensate pump works, if your system uses one. Pour water into the pump reservoir and confirm it activates and discharges properly.
If steps 1 through 4 reveal issues, you can handle most of them yourself. If steps 5 through 7 turn up abnormalities, that’s when it’s time to call a professional before running the system further. Continuing to run an AC with a failing capacitor or low refrigerant can turn a $200 repair into a $2,000 compressor replacement in a matter of weeks.
For homeowners who want the entire startup checklist handled without lifting a finger, our AC Repair in Torrance service includes a comprehensive pre-season inspection with a written report of exactly what was found. Every job gets a written price before any work starts.
Filter Changes: The Coastal Reality Check
The “change your filter every 90 days” rule printed on most filter packaging was written for a national average that doesn’t match Torrance. Here’s the reality we’ve documented across hundreds of service calls in the South Bay: Torrance homes with standard 1-inch filters need replacement every 45 to 60 days during the cooling season, and every 60 to 90 days during the off-season.
Why the shorter interval? Three reasons specific to Torrance. First, the marine layer brings consistent moisture, which causes dust and pollen to clump and adhere to filter media rather than blowing through. A filter that looks “okay” in a dry climate is often caked with damp particulate in Torrance. Second, many Torrance neighborhoods have mature eucalyptus, pine, and jacaranda trees that produce fine airborne debris for much of the year. Third, homes within a mile of the 405 freeway or major arterials like Hawthorne Boulevard, Crenshaw Boulevard, or Pacific Coast Highway see elevated particulate matter from traffic, which loads up filters faster.
The practical test is visual: pull the filter and hold it up to a light. If you can’t see light clearly through the filter media, it’s restricted enough to reduce airflow by 30% or more. Restricted airflow causes the evaporator coil to run too cold, which triggers freezing, which triggers a cascade of problems including compressor strain and condensate overflow.
- Standard 1-inch fiberglass or pleated filter: Replace every 45 – 60 days during cooling season, 60 – 90 days off-season.
- 4-inch media filter (Honeywell, AprilAire): Replace every 6 – 8 months.
- Washable electrostatic filter: Wash monthly during cooling season.
- Homes with pets (2+ animals): Reduce all intervals by 30%.
- Homes within 1 mile of the coast: Check filters every 30 days during marine-layer months; salt air binds with dust and creates a paste-like buildup.
Filters are cheap insurance. A $20 filter replaced on schedule prevents a $300 to $500 evaporator coil freeze repair, and it also keeps energy consumption down. A restricted filter causes the blower motor to work harder, which shows up on your SCE bill before it shows up as a breakdown.
Condensate Drain Clearing: The 40% Solution
Here’s the single highest-impact maintenance step you can legally and safely do yourself: clearing the condensate drain line. In our service data, condensate line clogs and the resulting overflow account for roughly 40% of no-cool service calls in Torrance during the first heat wave of the season. The drain line is the white or gray PVC pipe running from the indoor air handler to a floor drain or outside. Its job is to carry away the gallons of water your AC pulls from the air as condensation. When it clogs, the water backs up, triggers a float switch that shuts down the entire system, and leaves you with no cooling and often a wet ceiling or floor.
Why does Torrance see this more than inland areas? Because our ACs sit idle through the cool, damp months. The water left in the drain pan and line during dormancy doesn’t evaporate the way it does in drier climates. Instead, it sits there and grows a biofilm, which is a slimy layer of bacteria and mold that narrows the pipe. Add dust and debris from the filter, and the line eventually plugs completely. Systems that run regularly flush water through the line frequently, which prevents biofilm from establishing. Idle systems don’t get that flushing action.
The DIY clearing method:
- Locate the drain line access point, usually a capped T-fitting near the indoor unit or a vertical pipe sticking up next to the air handler.
- Remove the cap and pour one cup of white vinegar or a commercially-available condensate drain treatment into the line.
- Wait 30 minutes, then flush with warm water.
- Repeat monthly during the cooling season, and once at the start of the off-season.
If the line is already clogged, you’ll need to clear the blockage first. A wet-dry vacuum attached to the drain line outlet outside can often pull the clog free. In more stubborn cases, we use a CO2 drain gun or an auger designed for PVC lines. If water is already backing up into your drain pan or leaking onto the floor, shut the system off at the thermostat and call us, because continued operation with a clogged line can damage the blower motor and the control board.
Dirty Filter vs. Refrigerant Undercharge: Same Symptoms, $300 Difference
Here’s a scenario we see at least once a week during Torrance heat waves: a homeowner calls us because the AC is running but not cooling well, and the copper line going into the indoor unit is frozen or sweating heavily. They assume it’s low refrigerant and brace for a $500 to $800 repair. In roughly half of those cases, the actual problem is a dirty filter or a restricted coil, which costs $20 to $150 to fix. Here’s how to tell the difference before you call.
Both problems present the same way: reduced cooling, frozen evaporator coil, and ice on the larger insulated refrigerant line. The underlying cause is the same in both cases: the evaporator coil is running too cold. But the reasons are different. A dirty filter restricts airflow, which means not enough warm air passes over the coil to keep it above freezing temperature. A refrigerant undercharge (meaning the system has leaked some of the coolant it needs to produce cold air) causes the refrigerant to expand too much inside the coil, dropping the temperature below freezing.
Here’s the diagnostic sequence we use:
- Check the filter first. If it’s visibly clogged, replace it and run the system for 2 – 3 hours. If cooling returns to normal, the problem was airflow restriction. Cost: $20. Done.
- Check for ice on the coil itself. If you can access the indoor unit, turn off the cooling but leave the fan running for 30 – 60 minutes to thaw the coil. A completely iced-over coil can’t be diagnosed properly.
- After thawing, run the system and check the temperature difference. Measure the air temperature going into the return grille and coming out of the supply vents. A healthy system shows a 15 – 20°F difference (called the temperature split). A split under 12°F with a clean filter suggests a refrigerant issue.
- Call a professional for a pressure test. Refrigerant pressures must be measured with manifold gauges, and refrigerant handling requires EPA certification under Section 608 of the Clean Air Act. This is not a DIY job, and it’s genuinely dangerous to your equipment to keep running a low-charge system.
In our experience with York and Bryant systems across Torrance, refrigerant leaks are most common at the Schrader valves, the brazed joints on the line set, and the evaporator coil itself. Coastal air accelerates corrosion at these points. A proper repair involves finding and fixing the leak, then recharging the system to the manufacturer’s specified charge by weight, not just “topping it off.” A leak that gets topped off without being located will leak again, usually within a season. We include leak detection with every refrigerant repair, and every repair comes with a written guarantee covering the work.
Coil Corrosion Inspection for Coastal Zip Codes
If you live in the 90505 or 90503 zip codes, your outdoor condenser coil is aging faster than the same unit in Redondo Beach would, and much faster than one in Carson or Gardena. Salt air is the culprit. Sodium chloride particles settle on aluminum fins and copper tubing, and in the presence of moisture (which Torrance has in abundance), they create a galvanic corrosion reaction that pits and erodes the metal.
The corrosion pattern is predictable. You’ll see whitish or greenish deposits forming on the coil fins, especially on the side of the unit facing the ocean. The fins will begin to lose their structural integrity, becoming brittle and crumbling when touched. Eventually, the corrosion eats through the aluminum fin material entirely, and in severe cases, through the copper refrigerant tubing itself. That’s when you get a refrigerant leak and a system that can’t be economically repaired.
Inspection protocol for coastal Torrance homes:
- Visual check twice a year. Look for white, chalky deposits or greenish-blue corrosion on the coil fins. Pay special attention to the ocean-facing side.
- Gentle touch test on fins. With the unit off, gently brush the fins with a soft-bristle brush. If fins bend or crumble easily, corrosion is advanced.
- Check for fin separation. In advanced stages, fins separate from the tubing, creating gaps that dramatically reduce heat transfer efficiency.
- Look for oil spotting. Refrigerant leaks often leave an oily residue on the coil. Oil spots near a corrosion site usually mean the corrosion has penetrated the tubing.
Prevention is limited but not zero. Keeping the unit clear of vegetation improves airflow and reduces moisture retention. Rinsing the coil with fresh water (not a pressure washer, which will fold the fins flat) during the dry season can remove salt deposits. Some Torrance homeowners within the immediate coastal zone apply a coil corrosion inhibitor spray after cleaning. Daikin and Rheem both offer factory-coated coils designed for coastal environments, which we recommend when a coastal home needs a new system. Our AC Installation in Torrance service includes coastal corrosion-resistant equipment options for homes within two miles of the ocean.
Capacitor Testing: The Silent Failure Point
Capacitors are the most common electrical failure in residential AC systems, and they fail in a way that’s frustratingly silent. A capacitor is a small cylindrical component inside the outdoor unit’s control panel that stores electrical charge and releases it in a burst to start the compressor and condenser fan motor. Think of it like the starter battery in a car. When it weakens, the system may still run but with reduced efficiency, or it may fail to start on a hot day when the motor needs maximum starting torque.
Torrance’s climate makes capacitors fail on a different timeline than inland systems. The moderate temperatures mean the AC doesn’t run enough to keep the capacitor’s internal electrolyte warm and active. Capacitors that sit disconnected and unenergized for months can degrade internally, losing their ability to hold a full charge. Then, when the first 90°F day hits and the system tries to start, the weakened capacitor can’t deliver the required burst, and the compressor hums but won’t turn over. That humming sound is dangerous to the compressor, which can overheat and fail permanently if the system isn’t shut off quickly.
A professional capacitor test involves discharging the capacitor safely (capacitors retain a dangerous electrical charge even when the power is off) and measuring the microfarad (µF) reading against the rating printed on the capacitor’s label. A capacitor that reads more than 10% below its rated value should be replaced, even if the system is still running. The parts cost is typically $15 to $45, and the labor to install is straightforward. This is one of the best examples where routine maintenance catches a $200 repair before it becomes a $2,000 compressor replacement.
Signs of a failing capacitor:
- AC hums but the fan doesn’t spin when the system calls for cooling.
- The outdoor unit starts after a delay or requires a push-start from the fan blade (never do this with anything except a long stick, and only if you understand the shock risk).
- Intermittent starting: the system works sometimes and not others.
- Visible bulging or swelling at the top of the capacitor (requires opening the control panel, which we recommend leaving to a professional).
Capacitors carry a lethal electrical charge even after the disconnect is pulled. This is one component where the safety caveat matters: the internal charge can cause serious injury or death if handled improperly. We recommend leaving capacitor testing and replacement to a trained technician who carries the proper discharge tools and meters.
What a Professional Tune-Up Actually Covers
A maintenance visit from Halden Heating and Air Torrance home goes beyond what you can do with a flashlight and a garden hose. Here’s what a proper tune-up includes, and what you should expect from any provider you hire in Torrance.
- Full electrical inspection: All connections tightened, capacitor tested, contactor inspected for pitting, and voltage readings taken at the disconnect and the control board.
- Refrigerant pressure and superheat/subcooling measurements: These numbers tell a technician exactly how the refrigerant charge is performing against the manufacturer’s spec, and they catch slow leaks early.
- Condensate system flush and inspection: The drain line, pan, and pump are cleared and checked for proper drainage.
- Coil cleaning: Both the indoor evaporator and outdoor condenser coils are cleaned using appropriate cleaners and techniques that don’t damage fins.
- Airflow measurement: Static pressure and temperature split measurements verify the ductwork and blower are moving the correct amount of air.
- Thermostat calibration: Accuracy check and programming review.
- Written report: Every finding is documented, with photos, and any recommended repairs are quoted in writing before work begins.
Our tune-ups in Torrance include all of the above, plus a written price for any needed repair delivered before any work starts. We don’t have technicians who earn commission on what they sell, which means the report tells you what actually needs attention, not what needs a sale. Every repair includes a written guarantee, and if the repair fails within the coverage window, we come back at no charge. That’s not a courtesy; it’s the way we’ve operated since 2004 as part of the Relay Home Co. network and The Relay Visibility Guarantee. For more guides & resources, visit our blog.
For homeowners who prefer to handle pricing before anyone arrives, we send a written estimate electronically after a brief phone consultation, and we honor that price. You’ll know what the repair costs before you approve it. If you need help understanding how your heating system interacts with your AC (shared blower, shared ductwork, shared thermostat), our Furnace Repair in Torrance service covers the other half of the system with the same upfront pricing model.
Common Mistakes to Avoid
- Skipping maintenance because “the AC barely runs.” In Torrance, low usage is exactly why maintenance matters. Idle systems degrade in specific ways that running systems don’t, especially in the condensate and capacitor systems.
- Assuming a frozen coil means low refrigerant. Roughly half of frozen-coil calls are actually airflow restrictions from dirty filters or blocked returns. Replace the filter and check airflow before authorizing a recharge.
- Using a pressure washer on the outdoor coil. High-pressure water folds the aluminum fins flat and permanently reduces heat transfer. A garden hose with a gentle spray is the correct tool.
- Waiting until the first heat wave to schedule a tune-up. Every HVAC company in Torrance is booked solid during the July and August heat. Schedule the seasonal check in May or June when you can get a convenient appointment.
- Ignoring a condensate pump that’s running constantly. A pump that never shuts off indicates a failing check valve or a clogged line. If the pump fails, water damage follows quickly.
- Closing supply vents in unused rooms to “save energy.” This increases static pressure in the ductwork, which strains the blower motor and can cause coil freezing. It’s counterproductive.
- Putting off a capacitor replacement because “it still starts.” A weak capacitor is already damaging the compressor with every start cycle. The $30 part is cheap compared to the compressor it protects.
See the difference
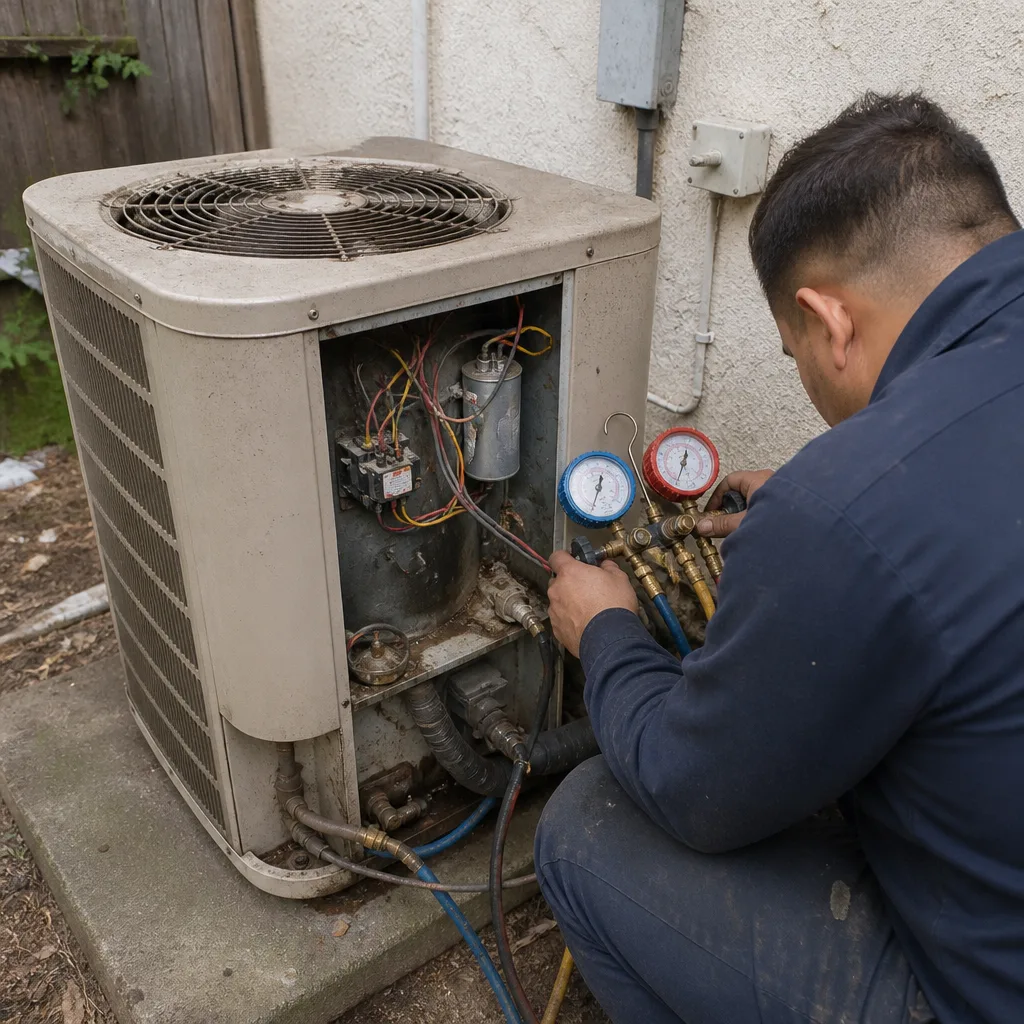 Before
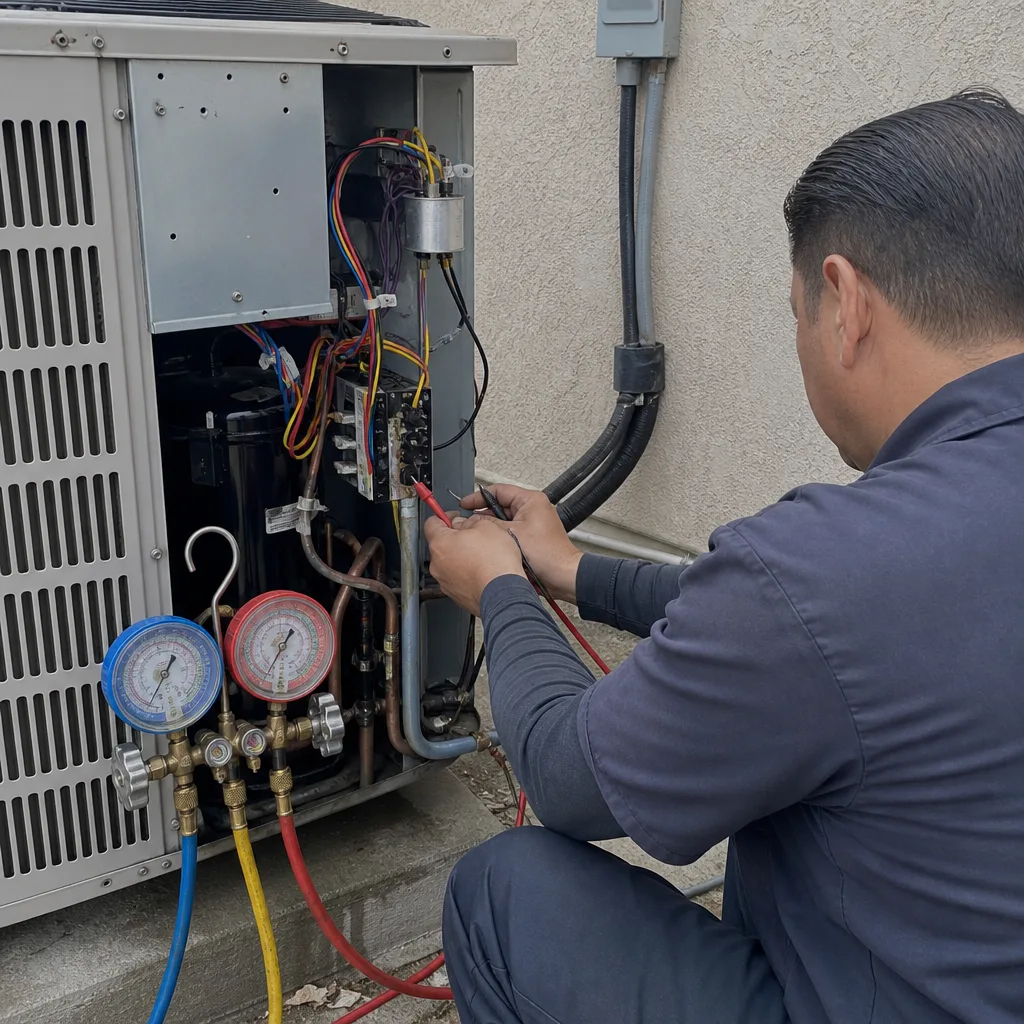 After
After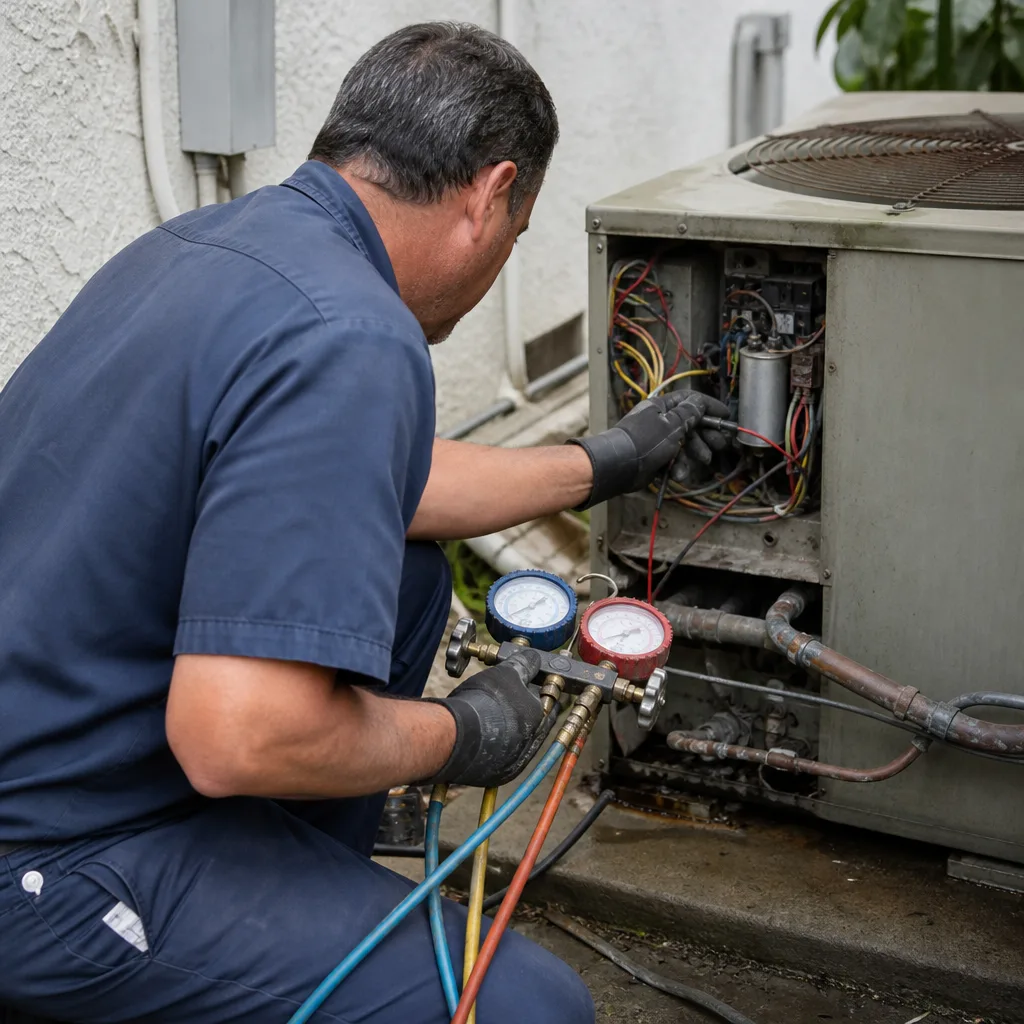 Before
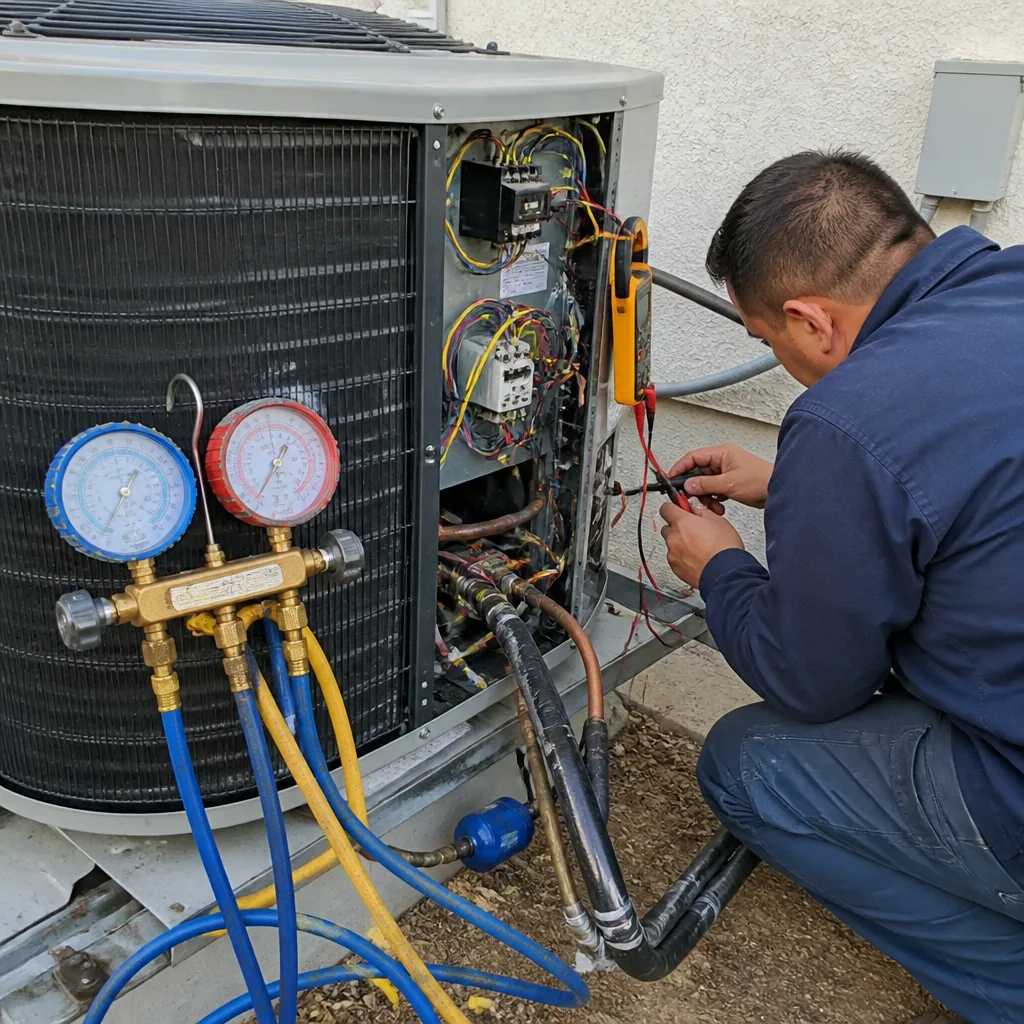 After
After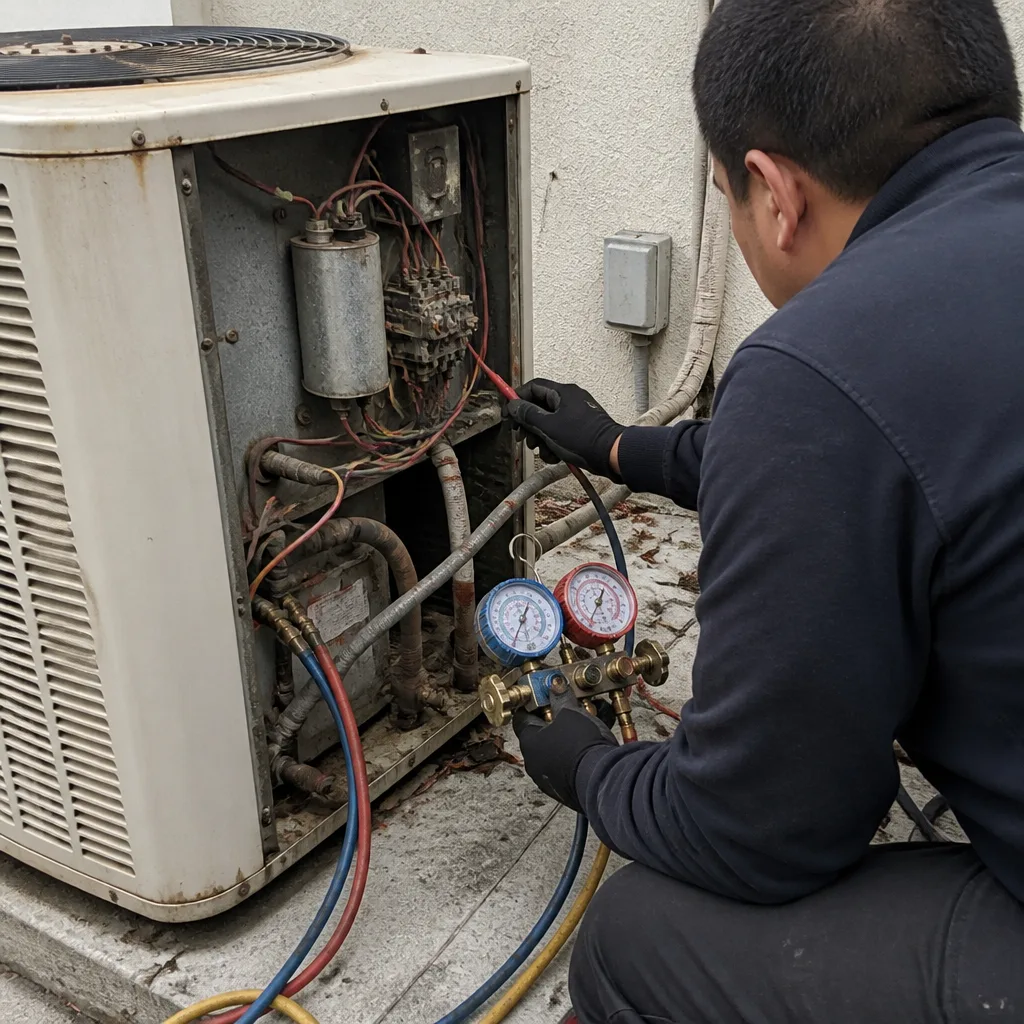 Before
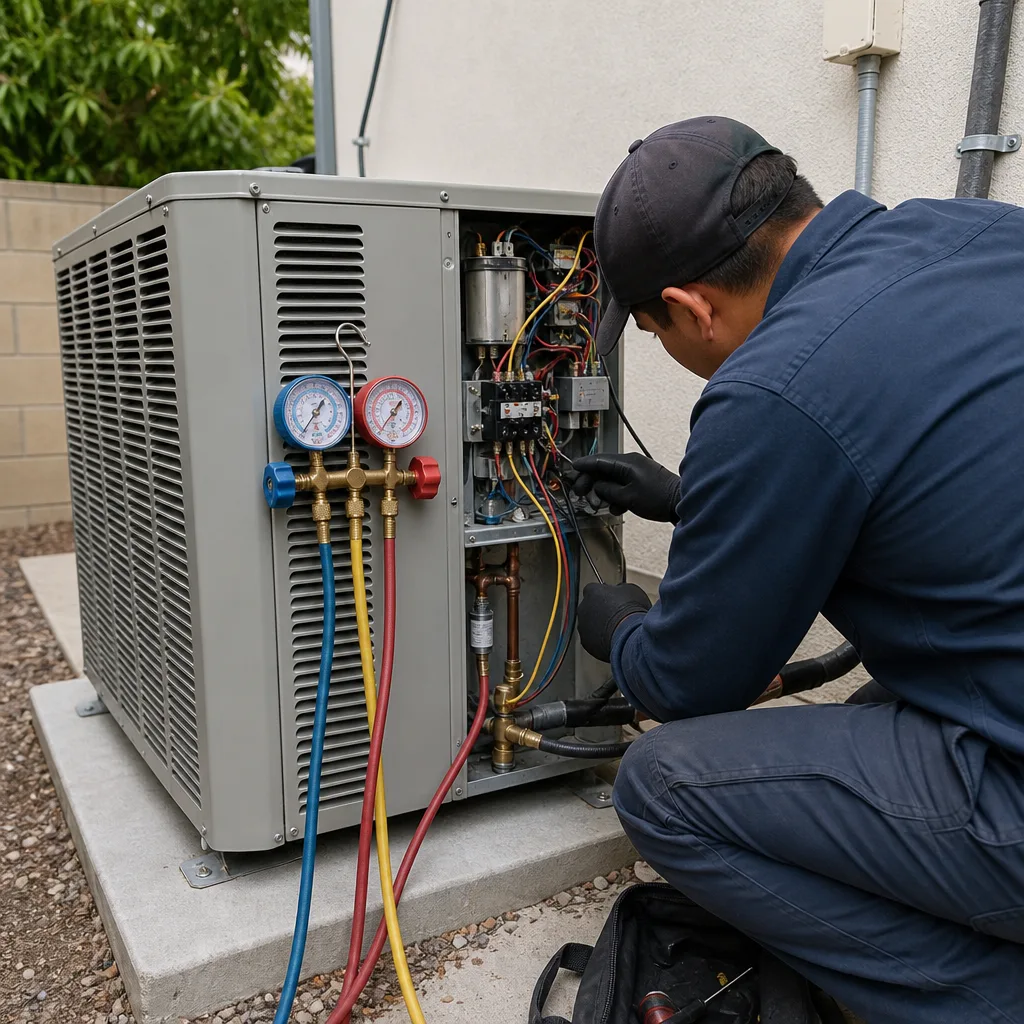 After
AfterWhen to Call a Professional
Some maintenance tasks are safe and worth doing yourself: filter changes, condensate line vinegar treatments, debris clearing, and thermostat battery replacement. Others carry genuine risk. Read DIY vs Professional HVAC: The Torrance Homeowner’s Decision Guide to know where to draw the line. Anything involving refrigerant requires EPA certification. Anything involving capacitors or electrical components carries a shock hazard that persists after the power is disconnected. Anything involving a frozen coil that doesn’t clear after filter replacement and a 60-minute fan-only thaw cycle indicates a system problem that needs diagnostic equipment. If water is leaking from the indoor unit, shut it off and call. If the outdoor unit hums but doesn’t start, shut it off and call. Halden Heating and Air Torrance offers free estimates in Torrance, call (424) 358-3791, and we’ll send a background-checked technician with a live arrival time you can track to your door, plus a written price before any work starts.
Frequently Asked Questions
Every 45 to 60 days during the cooling season and every 60 to 90 days during the off-season, depending on proximity to the coast, tree cover, and pet count. The “90-day” rule on filter packaging doesn’t account for Torrance’s damp, particulate-heavy air.
Most reputable companies in Torrance charge between $89 and $189 for a comprehensive tune-up that includes electrical checks, refrigerant measurements, condensate clearing, and coil cleaning. The price varies based on system size and accessibility. Call (424) 358-3791 for an exact quote, estimates are free.
Replace the filter first and run the system for two to three hours. If cooling returns to normal, the filter was the problem. If the coil continues to freeze or the temperature split stays below 12°F, call for a professional pressure test. Refrigerant work requires EPA certification and should never be attempted as a DIY repair.
Yes. Pour one cup of white vinegar into the drain line access point monthly during the cooling season, and flush with warm water after 30 minutes. If the line is already clogged, shut the system off and use a wet-dry vacuum on the outdoor drain outlet, or call for professional clearing.
That’s biofilm and mold growing in the condensate drain pan and evaporator coil during idle periods, which is common in Torrance’s humid coastal climate. A professional coil cleaning and condensate flush usually eliminates the odor, and running the fan periodically during the off-season helps prevent recurrence.
The general rule is to multiply the repair cost by the age of the system. If the repair is more than 50% of the replacement cost and the system is over 12 years old, replacement is usually the smarter long-term investment, especially given the availability of coastal corrosion-resistant equipment for Torrance homes. Call (424) 358-3791 for a free replacement estimate with written pricing.
The Bottom Line
Torrance AC failures follow patterns that national maintenance guides don’t anticipate. The marine layer, coastal salt air, and long idle seasons conspire to clog condensate lines, corrode coils, and weaken capacitors before the first heat wave arrives. The fix is a maintenance routine built around these local realities: filter changes every 45 to 60 days, monthly condensate drain treatments, twice-yearly coil inspections for coastal homes, and a professional pre-season tune-up that checks what you can’t safely access. See The Complete Guide to HVAC in Torrance for a deeper dive into local maintenance strategies. Skip the maintenance, and you’re rolling the dice on a $300 to $1,200 repair in August when every HVAC company is booked. Spend 30 minutes a month, and your system will be ready when the marine layer finally burns off and Torrance actually needs cooling.
Written by Andre Fuller, Owner at Halden Heating and Air Torrance, serving Torrance since 2004.